Fill in the IBM i connection
Step 2 of the IBM i reference-app setup: fill in the pre-supplied dev connection so CoderFlow can reach your IBM i, point its build at the repository you added in step 1, and build the environment.
The dev connection ships with the environment but arrives empty — no host, no credentials. You fill it in here.
On a cloud-hosted CoderFlow the connection is also where you provision the CoderFlow Bridge; the bridge has to be live before the installer in step 4 can reach the IBM i.
What you'll need
- The repository you added in step 1.
- An IBM i system you can reach, and authority to create a user profile on it (or an administrator who will).
- Permission to edit environments in CoderFlow. See Environments.
- For a cloud-hosted CoderFlow (coderflow.ai): outbound network access from the IBM i so it can dial the CoderFlow Bridge. See System requirements.
1. Create a non-privileged agentic profile
The connection authenticates as an IBM i user profile. Create a dedicated, low-privilege profile for agentic coding rather than reusing a personal or administrative one — an agent runs commands and compiles code under whatever profile the connection carries, so it should hold only the authority the work needs.
The connection dialog's built-in How to set up IBM i user profile helper generates the copy-paste-ready CL commands for creating such a profile. See IBM i User Profile Setup Helper for the authoritative walkthrough. This guide uses CODERAGENT as the profile name in its examples — substitute whatever name you choose.
Grant the profile use-authority to the base library (default CFDEMO) once the install step has created it, so it can run the example programs and read the demo data:
GRTOBJAUT OBJ(CFDEMO) OBJTYPE(*LIB) USER(CODERAGENT) AUT(*USE)
2. Edit the dev connection
From the setup wizard, click Open the Connections tab — it opens the environment's Connections tab in a new browser tab (the wizard stays open) with the dev connection's edit dialog already open. You can also get there any time from Environments → your IBM i environment → Connections → dev → Edit.
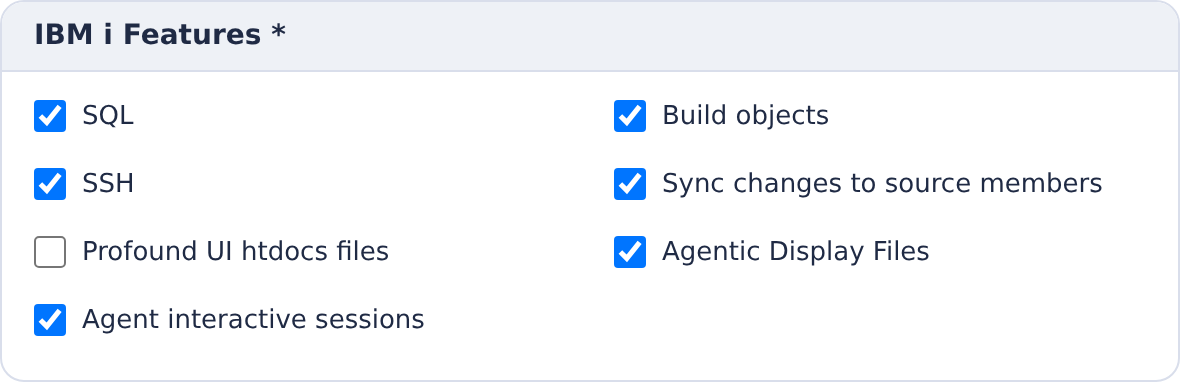
The dialog title is Edit IBM i Connection. Use the Server panel for host and credentials, then the feature settings panels below. The reference app has the connection's features pre-selected for you — you shouldn't need to change them. The app uses:
| Feature | What it powers |
|---|---|
| Build | codermake compilation of the RPG/CL/DDS source (build library prefix AITSK) |
| SQL | the sql skill for DB2 queries |
| SSH | the ibmi-clcmd skill for CL and shell commands |
| Interactive Sessions | driving 5250 / Rich Display screens through Profound UI |
| Sync | writing changed source members back to a library |
| Agentic Display Files | the ejs-screen-designer skill and workspace-served EJS overlays |
For a complete explanation of all connection features and their IBM i requirements, see IBM i Connections. What you need to supply is the host and the credentials — and that depends on how your CoderFlow is hosted.
Choose your deployment mode
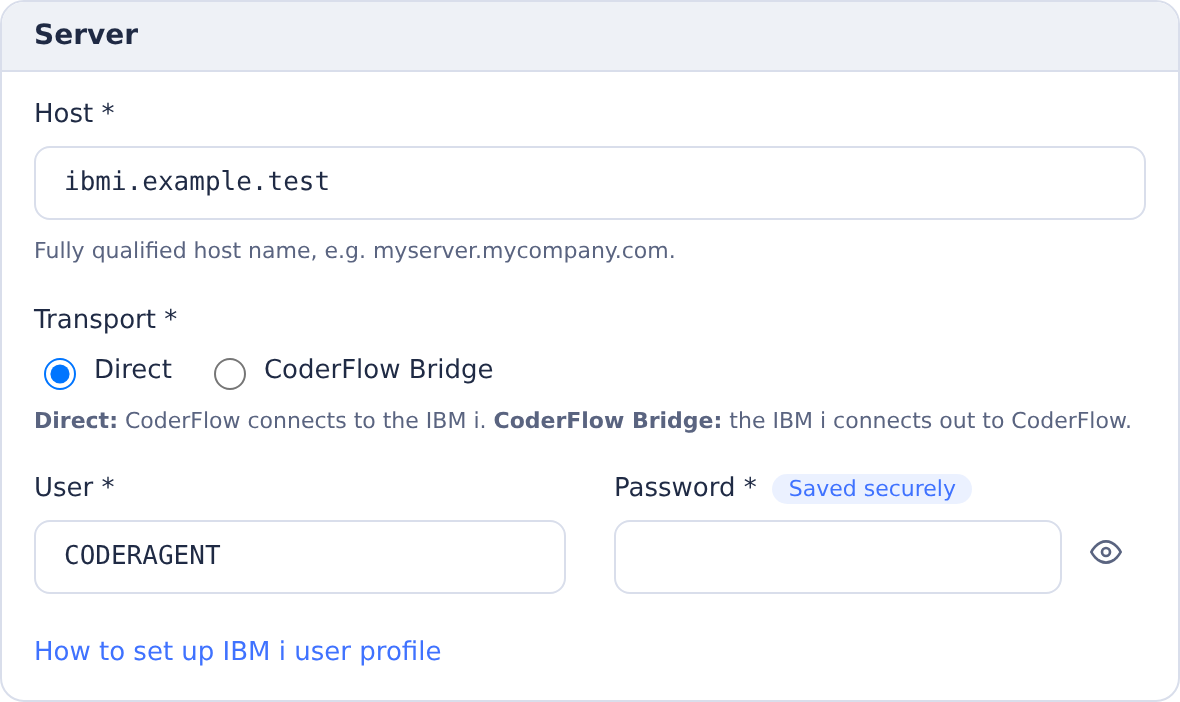
The Transport selector appears on cloud-hosted instances. Self-hosted connections always use Direct.
Direct (self-hosted)
If you run CoderFlow on-premises with a network path to the IBM i, the connection uses Direct transport (the only option on self-hosted CoderFlow). Fill in:
- Host — the IBM i's fully qualified hostname (raw IPs are rejected).
- User — the
CODERAGENTprofile from step 1. - Password — required because SQL and Interactive Sessions are enabled.
- SSH key — generate a keypair (or import one) and use Install Public Key on Remote to put the public key on the profile, since Build and SSH are enabled.
That's all the connection needs to reach the system directly.
CoderFlow Bridge (cloud-hosted)
On a cloud-hosted CoderFlow (coderflow.ai), the server has no direct network path to your IBM i, so the connection uses CoderFlow Bridge — the IBM i dials out to CoderFlow and CoderFlow reaches its services back through that one tunnel. A Transport option appears on the connection form; choose CoderFlow Bridge.
Still fill in the Host (the IBM i's real hostname — it's used for TLS and host-key verification even over the bridge) and the profile's credentials as above. Then:
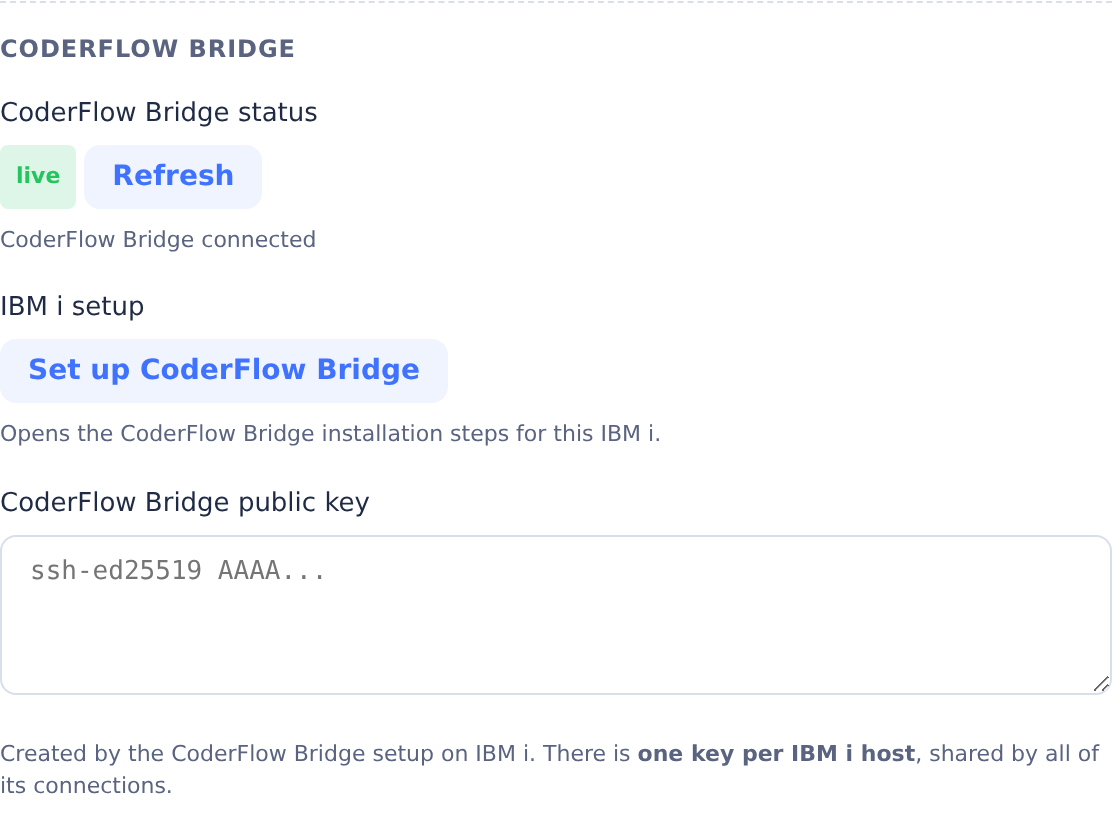
- Save the connection. CoderFlow launches the Set up CoderFlow Bridge on IBM i wizard.
- Follow it to install the bridge (download and restore
cfinstall.savf, runCFINSTALL), name the IBM i-side connection, and run the generatedADDCONNcommand in a 5250 session. Paste the public key it displays back into the wizard. - Wait for it to go live. The connection shows a live / offline status with a Refresh button; it becomes live once the IBM i has dialed in.
The full procedure — the guided wizard, the CL commands, and troubleshooting — is in Setting Up a CoderFlow Bridge Connection and CoderFlow Bridge.
3. Set the build repository
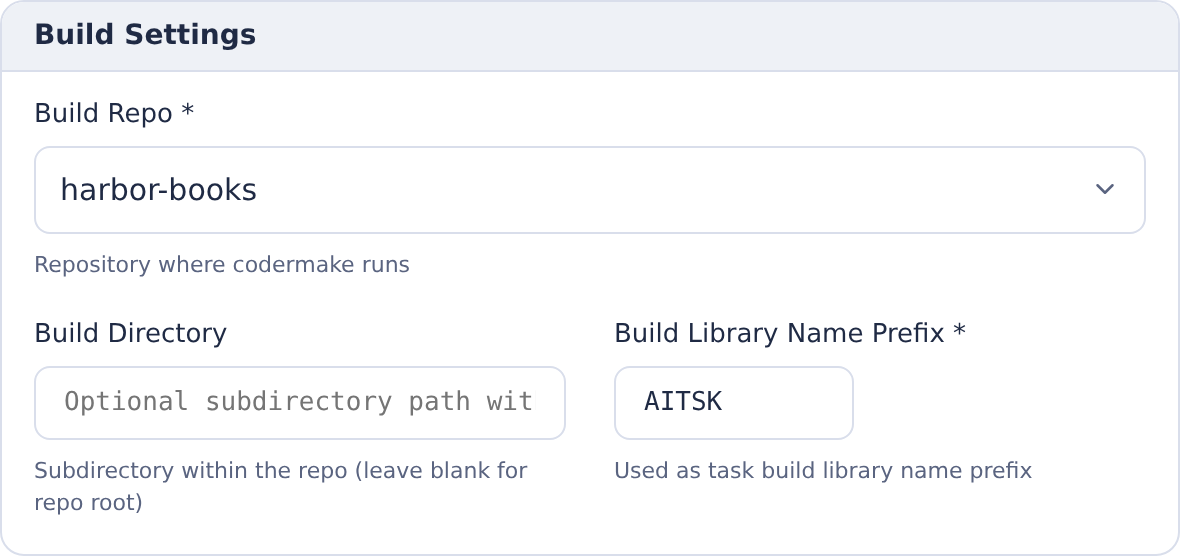
The dev connection's Build Repo is the repository codermake compiles from. Point it at the repository you added in step 1 — the import leaves it aimed at coderflow-reference-apps. Under the connection's Build feature:
- Build Repo — set it to your repository from step 1.
- Build Directory — leave empty. In step 3, copy the contents of the example's
ibmi/directory into your repository root, socodermakeruns there. - Build Library Name Prefix — leave as is (e.g.
AITSK); it just prefixes the per-task build library name.
Your repo has no source in it yet — you'll copy the example source across in step 3. Setting the build repo now means the environment is already aimed at your repo when you do. See Build — codermake Compilation for these fields and Task Libraries for how the per-task build library is created.
For this walkthrough, keep Profound UI assets under <repository-root>/htdocs/. Task-local EJS preview currently searches there; setting Build Directory to a subdirectory changes where compilation runs but does not make preview search that subdirectory's htdocs/ tree.
4. Test the connection
Choose Test connection in the footer to test SQL and SSH access with the current form values. Review the results and selected services’ readiness in Connection checks. Read any Needs attention or Could not check results before proceeding; you can adjust the form and check again without saving. Over a CoderFlow Bridge, access checks work only once the required forwards are live. When the checks pass, Save Connection.
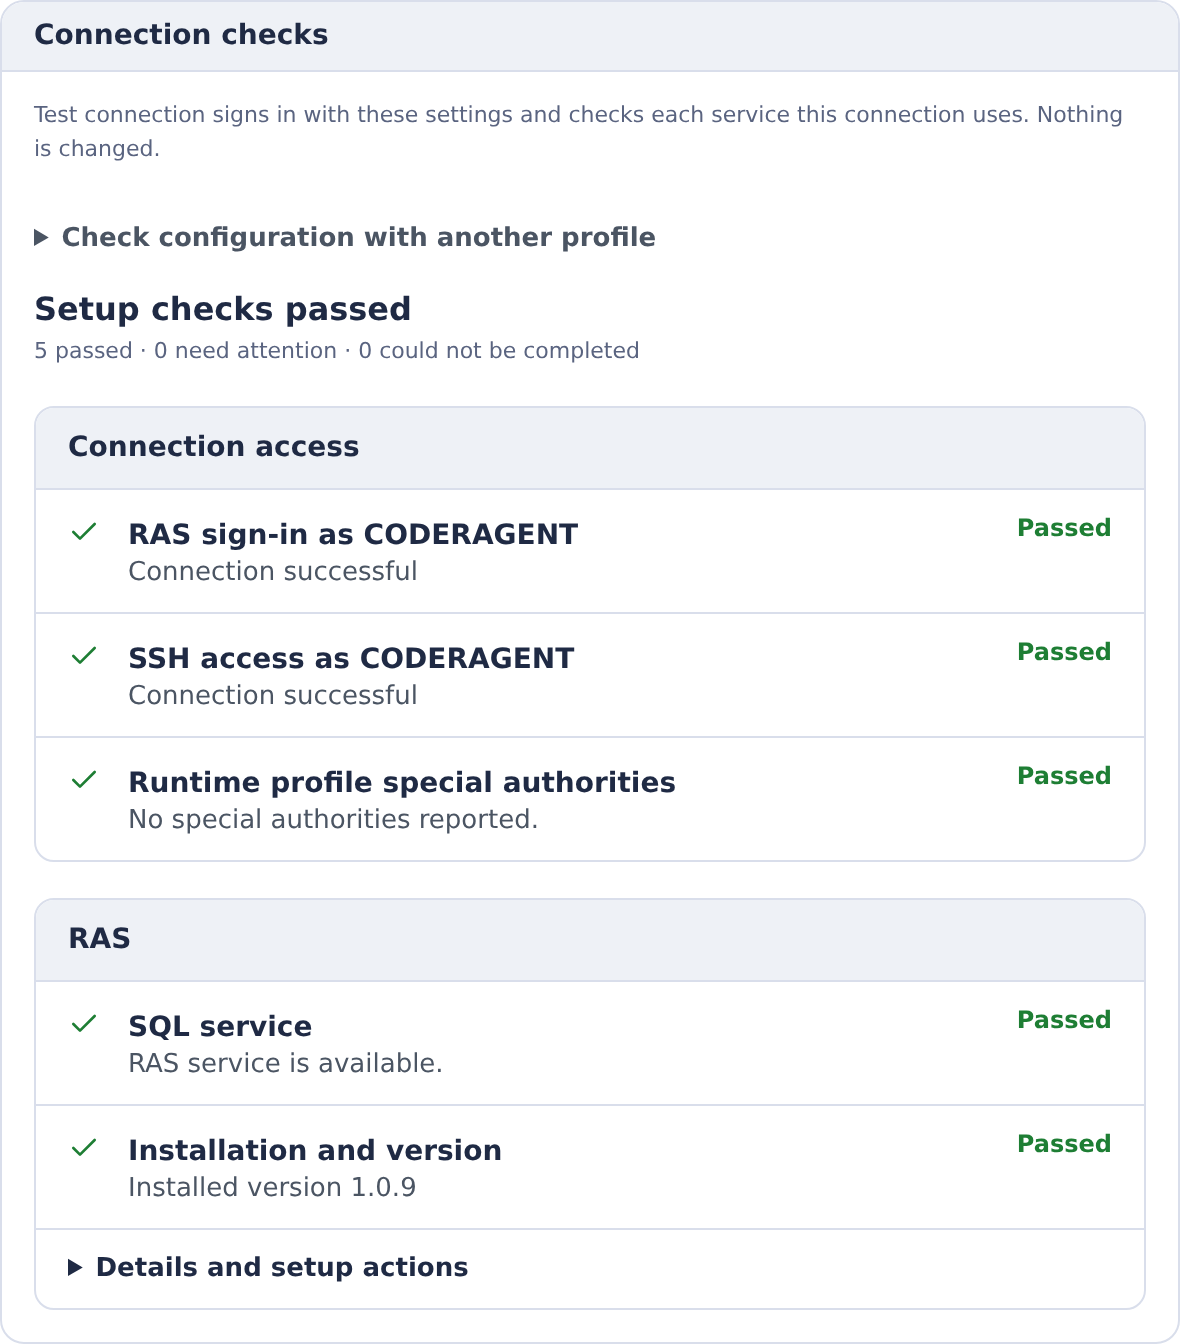
This example shows SQL and SSH checks. With Interactive Sessions enabled, also review the separate Genie findings.
5. Build the environment
On the Build tab, click Build Now, then Save. This builds the environment image and clones your repository — alongside coderflow-reference-apps — into it, so both are available to the copy task next.
When the build succeeds, return to the setup wizard, tick I've completed this step, and continue to copying in the example source.
Related
- Start from a reference app — the full setup flow this step belongs to
- Set up your project repository — the previous step
- IBM i Connections — the field-by-field connection reference and every feature's IBM i-side requirements
- CoderFlow Bridge — the IBM i-side bridge product, for cloud-hosted CoderFlow
- Copy in the example source — the next setup step